

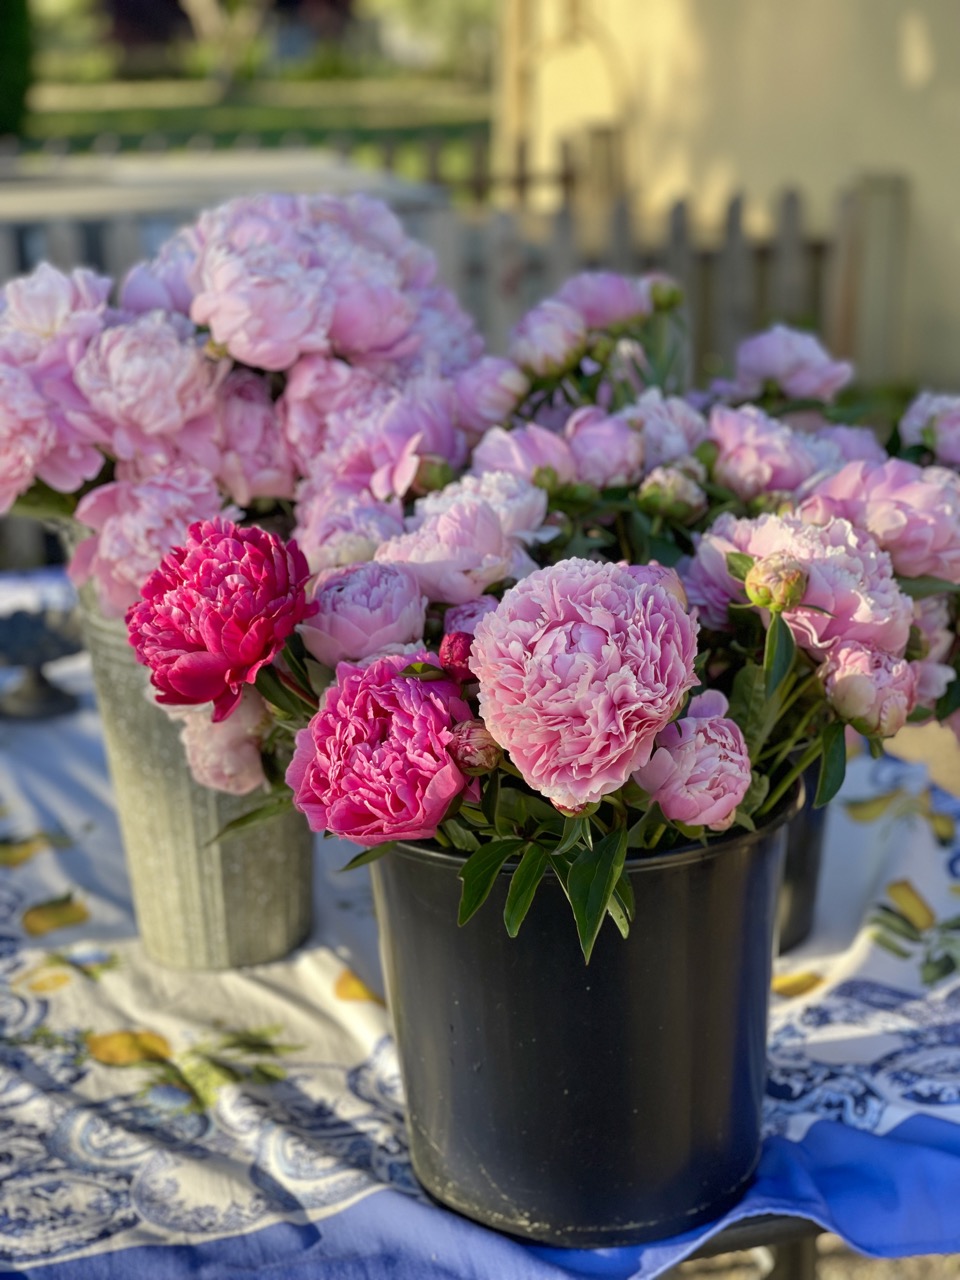
Peonies are the crown jewels of many gardens, with their lush, colorful blooms stealing the show every spring. But whether you’re relocating/transplanting your peonies or dividing them to share their beauty, knowing when and how to dig them up is key to keeping them healthy.
In this guide, we’ll cover the best time to dig up peonies, the tools you need, a step-by-step process, and what to expect after transplanting to ensure success. Let’s get your peonies thriving in their new home!
When Is the Best Time to Dig Up Peonies
Timing is critical when digging up peonies. The ideal window is fall, specifically late September through October in most growing zones (USDA Zones 3–8). During this period, peonies are dormant, meaning they’re not actively growing, so moving them won’t disrupt their growth cycle.
If you miss the fall window, early spring—just as new shoots begin to emerge—is a suitable alternative. Avoid digging during the peak growing season (summer) to prevent stressing the plant.
Why fall is best for digging up peonies
- Dormancy minimizes transplant shock
- Cooler temperatures support root establishment
- Peonies have time to settle before the next blooming season
Tools You’ll Need to Dig Up Peonies
Before you start, gather these essential tools to make the process smooth and efficient:
- Garden fork or shovel – For loosening soil and lifting the root ball
- Pruners – To trim back foliage cleanly
- Clean bucket or tarp – To hold the plant or collect soil
- Sharp knife – For dividing the root clump, if desired
Having the right tools ensures you can dig up your peonies without damaging their delicate roots.
How to Dig Up Peonies – Step-by-Step Process
Follow these steps to safely dig up, divide (if needed), and replant your peonies for optimal growth and blooming.
1. Cut Back the Stems
Start by trimming the peony foliage to about 2–3 inches above the ground. This makes digging easier and helps prevent the spread of diseases like botrytis blight. Use clean, sharp pruners to avoid jagged cuts.
2. Loosen the Soil
Peonies have thick, tuberous roots that can extend deep into the soil. Begin digging 12–18 inches away from the crown (the base where stems meet roots) to avoid damaging the roots. Use a garden fork or shovel to gently loosen the soil in a circle around the plant.
Pro tip: Work slowly to preserve as many roots as possible.
3. Lift the Clump
Carefully insert your shovel or fork under the root mass and gently rock it back and forth to loosen the plant from the soil. Lift the entire root clump out, avoiding spearing or breaking the roots. Peonies can be heavy, so take your time.
4. Shake and Rinse Off Soil
Once lifted, gently shake off excess soil or rinse the roots with a hose to reveal the root structure. This step is especially helpful if you plan to divide the plant, as it allows you to see the roots and buds clearly.
5. Inspect the Roots
Healthy peony roots are firm, beige-tan, and have small pink buds (called “eyes”) near the crown. Trim away any soft, rotted, or damaged sections with a clean knife to promote healthy growth.
6. Divide the Roots (Optional)
If you want to propagate your peonies or create more plants, divide the root clump. Use a sharp, clean knife to cut sections, ensuring each division has:
- 3–5 eyes (buds)
- Several healthy roots
Dividing peonies can rejuvenate older plants and encourage better blooming.
7. Replant Promptly
Peony roots are sensitive to drying out, so replant them as soon as possible. Choose a sunny location with well-draining soil. Dig a hole wide enough to accommodate the roots, and position the crown no deeper than 1–2 inches below the soil surface.
Important: Planting too deep is the most common reason peonies fail to bloom, so measure carefully.
8. Water and Mulch
After replanting, water thoroughly to settle the soil around the roots. Apply a light layer of mulch (like straw or shredded bark) to protect the plant through winter, but avoid burying the crown too deeply.
What to Expect – Impact on Growth and Blooms
After digging up and transplanting peonies, it’s normal for the plants to take some time to adjust. Here’s what you can expect:
First Year After Transplanting – Peonies may produce fewer blooms or none at all as they focus energy on establishing new roots. Don’t be alarmed if your plant looks less vibrant—it’s prioritizing root growth over flowers.
Second Year – You should see stronger foliage and some blooms, though the display may still be less robust than a fully established plant. Ensure proper care (adequate water, no over-fertilizing) to support recovery.
Third Year and Beyond – By the third year, most peonies fully recover and produce their characteristic lush blooms, provided they’re planted correctly and in a suitable location.
Factors That Affect Recovery
- Planting Depth – If planted too deep (more than 2 inches below the surface), blooming may be delayed or absent
- Root Health – Damaged or insufficient roots can slow recovery, so handle roots carefully during transplanting
- Division Size – Smaller divisions (with fewer eyes) may take longer to establish than larger ones
To encourage healthy growth, water consistently (about 1 inch per week) during the first year and avoid heavy fertilization. With patience, your peonies will reward you with vibrant blooms.
Master Gardener Tip for Peony Success
When replanting peonies, ensure the buds (eyes) face upward. Avoid adding heavy compost or fertilizer immediately, as peonies prefer leaner soil to establish strong roots. Over-fertilizing can lead to lush foliage but fewer blooms. Once established, you can fertilize lightly in spring to support growth.
Common Mistakes to Avoid When Digging Up Peonies
To ensure your peonies thrive after transplanting, steer clear of these pitfalls:
- Planting too deep – Keep the crown 1–2 inches below the soil surface
- Digging too close to the plant – Start 12–18 inches away to protect roots
- Letting roots dry out – Replant quickly or keep roots moist during the process
- Moving during active growth – Stick to fall or early spring for best results
Why Dig Up Peonies
You might need to dig up peonies for several reasons:
- Relocating – Moving to a new garden or a better spot with more sun
- Dividing – To propagate new plants or rejuvenate old ones
- Improving growth – If your peonies aren’t blooming well, they may be too deep or crowded
By following the right steps, you can ensure your peonies continue to produce stunning blooms for years to come.
FAQs About Digging Up Peonies
Can I dig up peonies in summer?
It’s best to avoid summer, as the plant is actively growing and transplanting can cause stress. Stick to fall or early spring.
How deep should I plant peonies?
Plant the crown 1–2 inches below the soil surface. Planting too deep prevents blooming.
Do peonies need full sun?
Yes, peonies thrive in full sun (at least 6 hours daily) with well-draining soil.
How often should I divide peonies?
Divide every 5–10 years if the plant becomes crowded or blooming decreases.
Will my peonies bloom the first year after transplanting?
They may not bloom or may produce fewer flowers in the first year as they focus on root establishment. Full blooming typically resumes by the second or third year.
Final Thoughts – Keep Your Peonies Blooming Bright
Digging up and transplanting peonies doesn’t have to be daunting. By choosing the right time (fall or early spring), using the proper tools, and following our step-by-step guide, you can ensure your peonies remain healthy and vibrant.
Be patient with their recovery, and your peonies will reward you with stunning blooms for seasons to come.
Have questions about peony care or transplanting? Drop them in the comments below, and let’s keep your garden blooming!


More From Our Master Gardener


Unique Garden Tools

Shop Our Gardening Gift Boxes

5 Star Reviews for Our Hori Hori

Recent Posts


5 Unexpected Winter Weed Control Strategies (That Don’t Involve Mulch)

Harnessing Winter Sun – Passive Solar Tricks for Your Garden

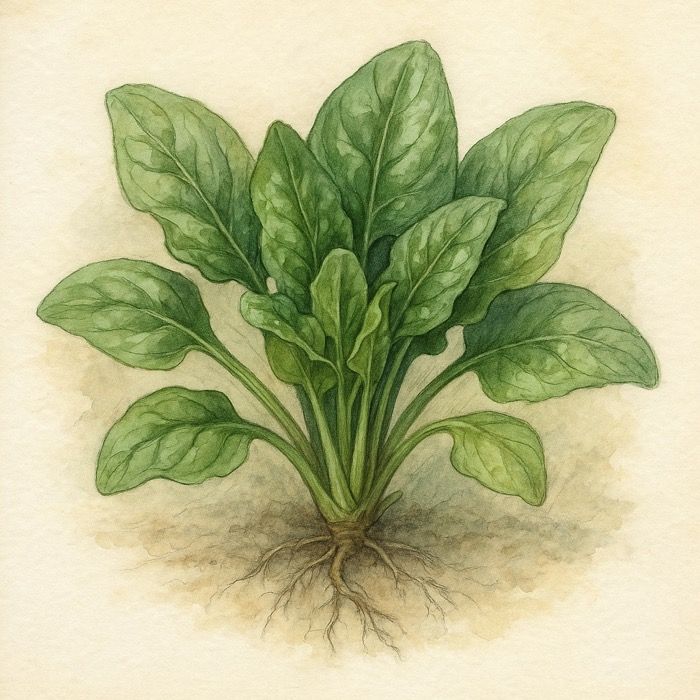
How to Grow Spinach – The Ultimate Beginner’s Guide for Tender, Nutritious Leaves

How to Grow Peas: The Ultimate Beginner’s Guide for Sweet, Crisp Harvests

How to Propagate and Dig Up Calla Lilies – A Step-by-Step Guide