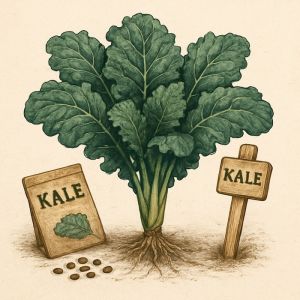
Kale is a superstar of the fall garden. It’s packed with nutrients, easy to grow, and thrives in the cool, crisp days of autumn. Whether you’re tending a backyard plot, filling raised beds, or growing in containers, kale is one of the most rewarding crops to grow from seed to salad bowl.
At The Celtic Farm, we grow kale every year for its flavor, versatility, and reliability—plus, it just looks good in the garden. In this guide, we’ll walk you through everything you need to grow a successful kale crop this season.

1. Choose the Right Kale Variety
Before you plant anything, start by picking the right type of kale for your space and climate. The variety you choose impacts flavor, growth habit, and heat or cold tolerance.
Top choices include:
- ‘Lacinato’ (Dinosaur Kale) – Tender leaves, rich flavor
- ‘Red Russian’ – Sweet, beautiful red-veined leaves
- ‘Curly Kale’ – Classic texture, great for smoothies
Why it matters: Some kale varieties tolerate heat better than others, while some offer better frost resilience or unique flavor.
2. Start Seeds Indoors for Fall Planting
If you’re starting in mid- to late summer, it’s best to sow kale seeds indoors to avoid heat stress and give your plants a healthy start.
Here’s how:
- Sow seeds ¼-inch deep in seed trays or small pots
- Keep at 65–75°F with consistent light (sunny window or grow light)
- Water gently and keep soil moist but not soggy
- Expect germination in 5–10 days
Pro Tip: Log your sowing date in your garden journal or app to keep things on track.
3. Prep Your Garden Bed
Before transplanting your seedlings, it’s important to create the ideal soil conditions. Kale is a heavy feeder that thrives in fertile, well-draining soil.
Steps to prep:
- Remove summer crops and debris
- Add 1–2 inches of compost or aged manure
- Work it in with a hand fork or battery-powered tiller
4. Transplant Seedlings at the Right Time
After your kale seedlings have grown strong indoors, they’re ready to be transplanted into the garden. The key is timing—transplant when days are still warm but nights are cooling off.
What to do:
- Harden off seedlings over 7–10 days by exposing them gradually to outdoor conditions
- Plant them 18–24 inches apart in raised beds, rows, or containers
- Water thoroughly after transplanting
Bonus Tip: Plant in partial shade if late-summer temps are still intense.
5. Water Consistently (and Smarter)
Kale needs steady moisture to grow tender, flavorful leaves. Inconsistent watering can lead to stress, bitter leaves, or pest problems.
Here’s how to keep it hydrated:
- Use drip irrigation or soaker hoses to water deeply and efficiently
- Aim for 1–2 inches per week, depending on local rainfall
- Avoid wetting leaves directly, which can cause disease
6. Mulch to Reduce Weeds and Retain Moisture
A good layer of mulch goes a long way toward keeping your kale happy and reducing maintenance in the garden.
Apply mulch like this:
- Add 2 inches of straw, shredded leaves, crinkle paper, or wood chips around plants
- Leave a 1-inch gap around the base of each plant to prevent rot
We love using crinkle paper mulch—it’s soft, recycled, and composts easily.
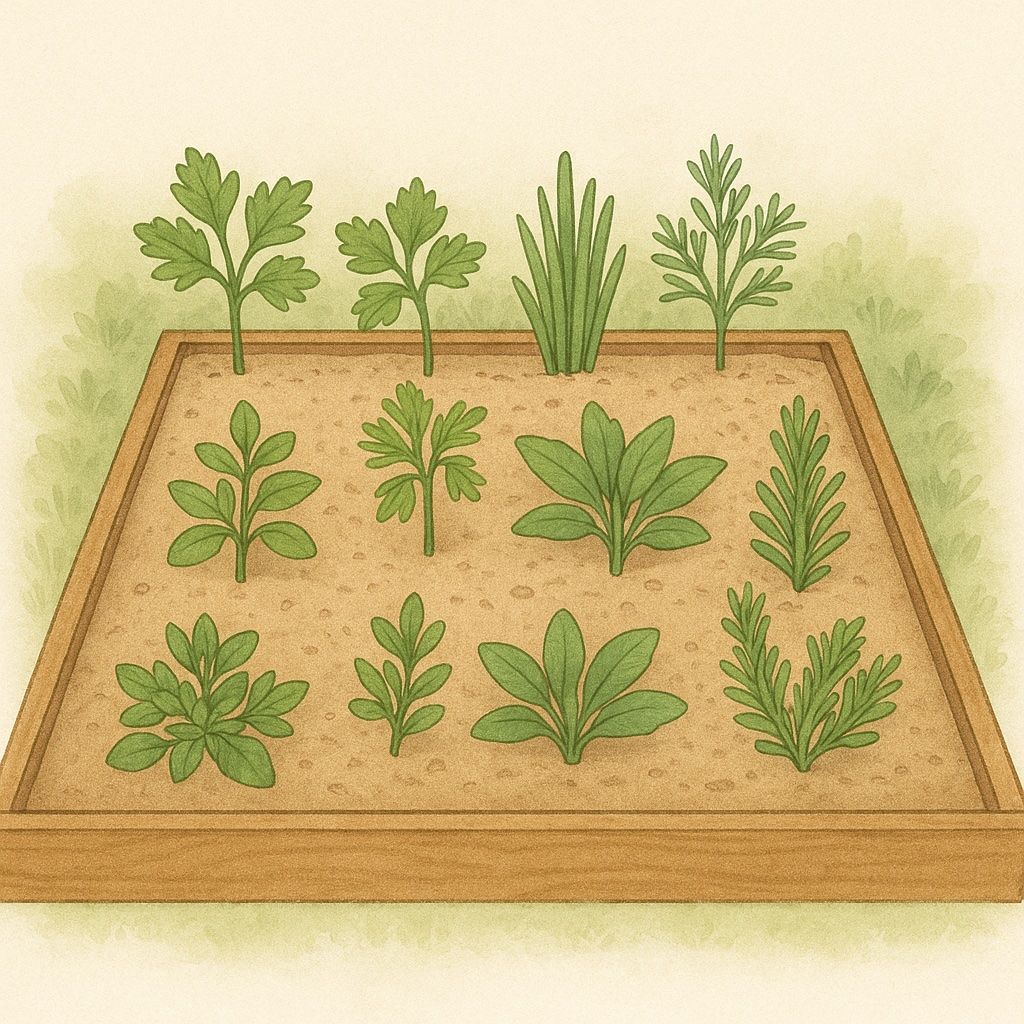
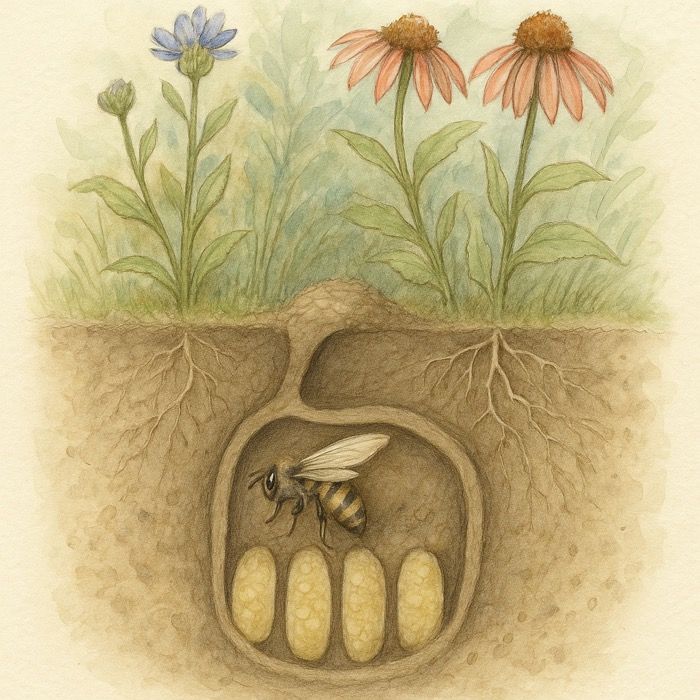
7. Use Companion Planting for Natural Pest Control
Kale is a magnet for aphids, cabbage worms, and flea beetles—but you can fight back with natural allies in the garden.
Plant these nearby:
- Marigolds
- Onions
- Dill
- Chamomile
These companions deter pests, improve pollination, and add beauty to your garden beds.
8. Feed Your Kale for Leafy Growth
Kale is a leafy green, and that means it needs nitrogen-rich nutrition to keep those greens lush and healthy.
Fertilizer tips:
- Apply balanced fertilizer (e.g., 10-10-10) every 4–6 weeks after transplanting
- Or, top-dress with compost or feed with compost tea
Farm Hack: We use compost tea every other week for deep-green leaves.
9. Harvest the Right Way for Ongoing Growth
One of the best things about kale is that you don’t have to wait for a single harvest—you can pick leaves as the plant matures, over and over again.
Here’s how:
- Begin harvesting when outer leaves are 6–8 inches long
- Use clean scissors or pruners to snip leaves off the sides
- Always leave the center rosette so the plant keeps growing
Want our kale salad recipe? It’s coming soon in our newsletter—subscribe to get it first.
10. Keep a Garden Journal or Use Our App
Tracking what works in your garden is the best way to grow better each season. A garden journal lets you refine your timing, catch patterns, and remember what varieties did best.
What to record:
- Sowing and transplant dates
- Weather and watering notes
- Pest problems and harvest totals
Join the waitlist for our Celtic Farm Garden Planner App and be first to try it!
Bonus – Enjoy the Harvest!
You’ve nurtured your kale from seed to salad—now it’s time to enjoy it. Massage leaves for salad, toss in soups, bake crispy kale chips, or blend into a superfood smoothie.
Tag your kale dishes with #CelticFarmGardens or @thecelticfarm—we love to share your success!
Final Thoughts
Kale is one of the easiest and most productive crops for fall gardening. With just a bit of planning and care, you’ll enjoy months of leafy harvests and fresh homegrown greens. Whether you’re planting a few in a container or filling a raised bed, this hardy green will reward you again and again.
Ready to grow? Browse our kale seeds, garden tools, and fall garden kits to get started today.


More From Our Master Gardener


Unique Garden Tools

Shop Our Gardening Gift Boxes

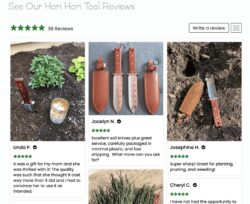
5 Star Reviews for Our Hori Hori