🪴 When & Why to Refresh Your Raised Bed Soil
Your raised beds work hard season after season—give them a fresh start with a soil refresh.
Over time, raised bed soil becomes compacted, depleted, and less productive. Refreshing it improves structure, restores nutrients, and helps prevent pest and disease build-up. Whether you’re prepping for spring planting or tucking in your beds for fall, a refresh sets the stage for success.
Best times to refresh:
- Early spring – Before planting, to prepare for a productive season.
- Fall – After harvest, to build fertility and structure during the off-season.
Signs your beds need a refresh:
- Sluggish plant growth
- Poor yields
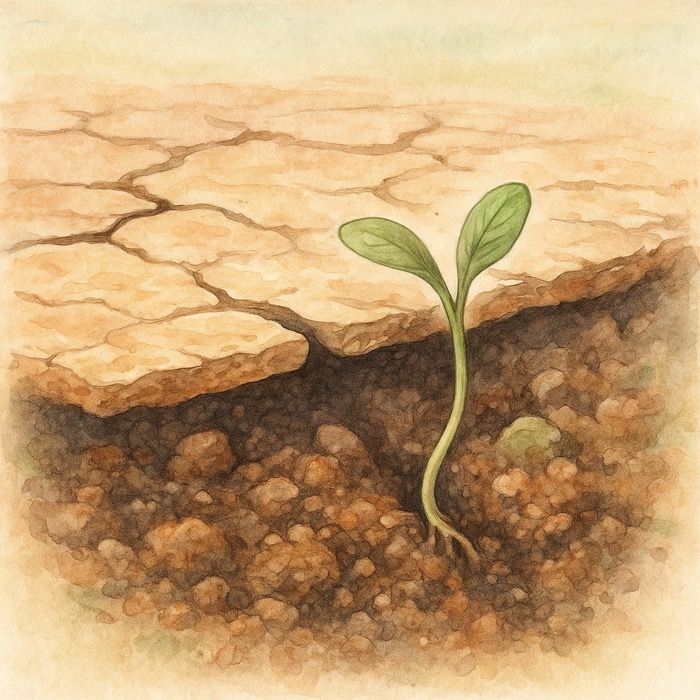
- Soil that looks dry, compacted, or crusty
- More weeds than usual
- Trouble retaining moisture
Testing your soil every 2–3 years is also a good idea to catch deficiencies early.
✨ Step-by-Step Soil Refresh Guide
Follow these simple steps to bring your beds back to life.
A raised bed refresh doesn’t have to be complicated. With just a bit of cleanup, aeration, and amendment, you can transform tired beds into nutrient-rich, loose, and ready-to-plant growing zones.
1. Clear It Out
Remove spent crops, old mulch, weeds, and roots. Don’t forget to check for any overwintering pests. Clearing the surface allows air, water, and nutrients to penetrate where they’re needed.
2. Loosen & Aerate
Use a garden fork or hand cultivator to gently loosen the top 6–12 inches of soil. This reduces compaction and improves drainage and root growth without disturbing beneficial soil life too deeply.
3. Add Organic Matter
Add 2–3 inches of compost, aged manure, or a mix of leaf mold, worm castings, or mushroom compost. These not only feed the soil but improve water retention and microbial health.
4. Balance Soil Chemistry
If you’ve done a soil test (which we recommend), adjust the pH or nutrient levels. You might need to add bone meal for phosphorus, greensand for potassium, or lime to raise the pH.
5. Top Up the Soil
If your bed has sunk over time, add a blend of compost and high-quality garden soil to bring it back to its original level. This helps retain water and supports deep root growth.
6. Mulch After Planting
Once your plants are in, apply a 1–2 inch layer of mulch (like straw, bark, or shredded leaves). Mulch helps suppress weeds, regulate temperature, and retain precious moisture.
💡 The Benefits
Refreshing your soil pays dividends all season long.
Healthy soil is the backbone of a successful raised bed garden. A yearly refresh reduces the risk of pests and disease, builds long-term soil fertility, and boosts your yields naturally.
Benefits include:
- Healthier plants with stronger root systems
- Nutrient-rich soil that feeds crops throughout the season
- Improved drainage and structure
- Fewer weeds and less disease
- Extended productivity of your raised bed system
🔁 How Often Should You Refresh?
Soil care is an ongoing commitment, but it doesn’t have to be complicated.
In most climates and gardens, an annual refresh is perfect. Beds that are heavily planted or home to nutrient-hungry crops like tomatoes or squash may benefit from a mid-season top-up or post-harvest rebuild.
General rule of thumb:
- Refresh once a year
- Test soil every 2–3 years
- Add compost any time soil feels dry, lifeless, or crumbly
🌱 Final Thoughts
A raised bed refresh is one of the best ways to ensure garden success.
Whether you’re a backyard grower or a flower farmer, taking time to loosen, amend, and re-balance your raised beds is a small seasonal task with huge rewards. Happy plants, better yields, and fewer problems start from the ground up.
More From Our Master Gardener
Special Christmas Gifts for Gardeners
Recent Posts

Top 20 Gardening Gifts for 2025: Best-Selling Picks from The Celtic Farm

The Hidden World of Soil Crusts – What They Are, Why They Kill Seedlings, and How to Fix or Prevent Them

Last-Minute Winter Garden Checklist: 5 Quick Tasks for Gardeners Who Are Behind (Like Me!)

❄️ Snow as Fertilizer – The Truth About “Poor Man’s Nitrogen”

5 Unexpected Winter Weed Control Strategies (That Don’t Involve Mulch)


