
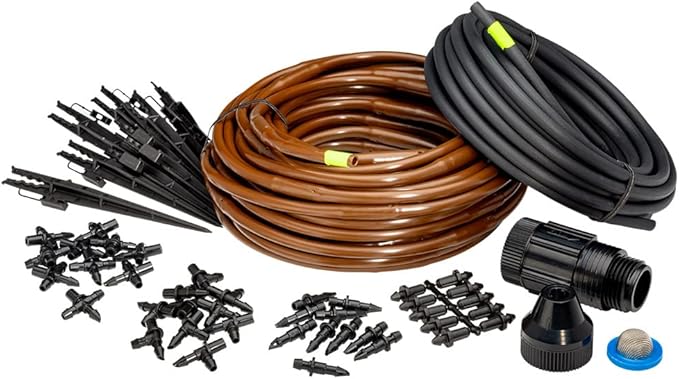
Drip irrigation is one of the most efficient ways to water your garden—but to truly customize your system, you need to understand the different types of drip emitters available. The emitter is the heart of the system, delivering precise amounts of water right where your plants need it most.
Whether you’re growing vegetables in raised beds, flowers in containers, or a sprawling food forest, the right emitter makes all the difference.
What Is a Drip Irrigation Emitter?
An emitter (also called a dripper) controls the flow of water from your main drip line or tubing. It regulates the rate at which water is released, usually measured in gallons per hour (GPH). Some emitters are pressure-compensating, meaning they release water at the same rate even if the line pressure fluctuates.
There are many types of emitters, each designed for different plant needs and watering patterns. Let’s break them down one by one.
Master Gardener Tip: Start by walking your garden and mapping your plant groupings. Planning your irrigation layout before purchasing parts will save you time, water, and headaches.
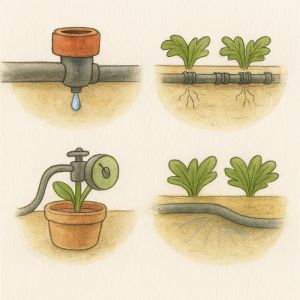
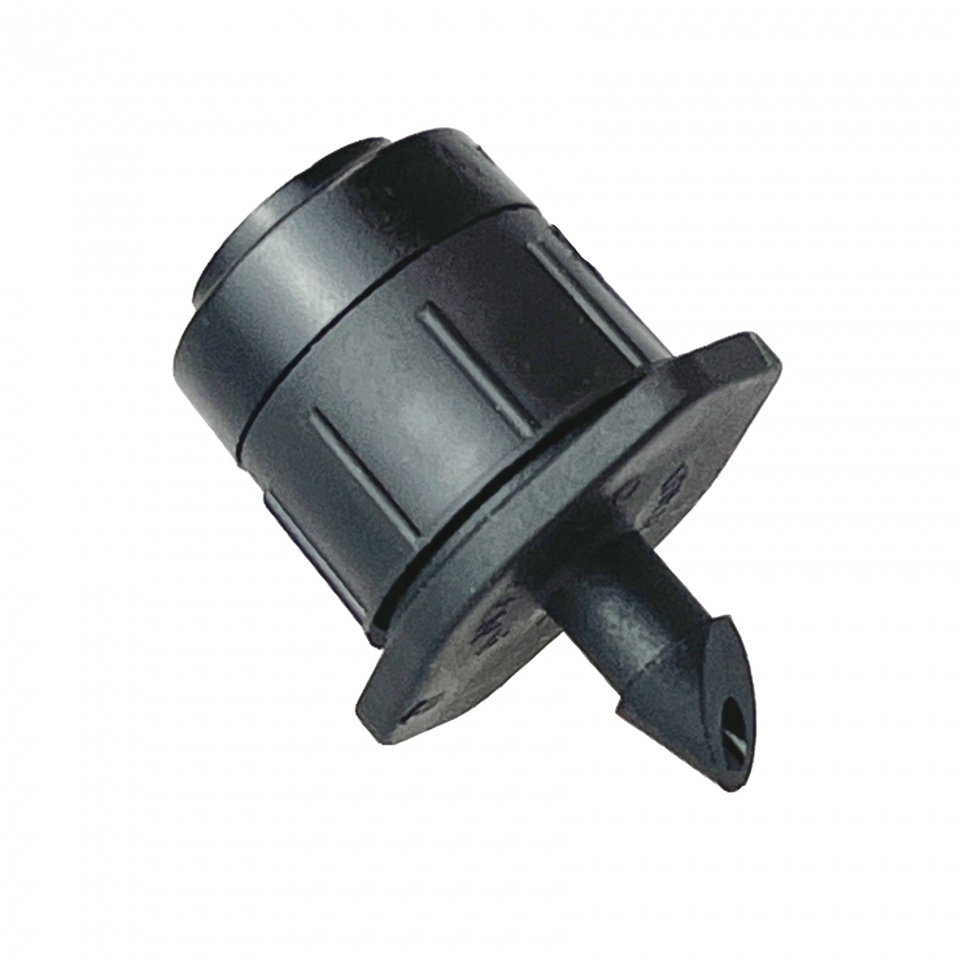
Button or Point-Source Emitters
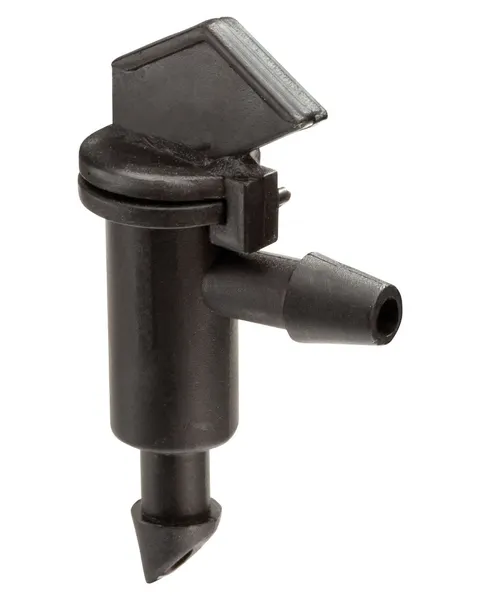
If you’re watering individual plants like trees, shrubs, or spaced-out perennials, button emitters might be your best bet. These are the most familiar drip emitters and are easy to customize per plant.
Here’s why button/point emitters are a solid choice:
- Best for: Trees, shrubs, containers, widely spaced plants
- How they work: Installed directly into tubing or at the end of microtubing
- Flow rates: Commonly 0.5, 1, or 2 GPH
- Bonus: Pressure-compensating options are great for slopes or long runs
Master Gardener Tip: Use 2-GPH emitters for trees in sandy soil and 0.5-GPH in heavy clay to avoid runoff.
In-Line Drip Emitters (Built-in)
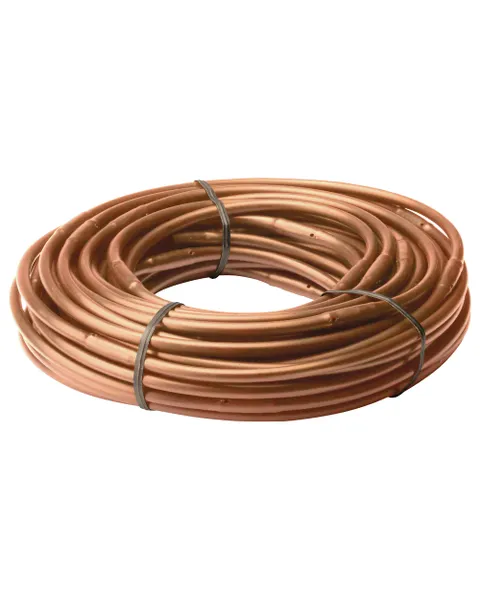
When you need a clean, fast install for uniform plantings—like veggie rows or hedgerows—in-line emitters are the way to go. These emitters are built right into the tubing itself at regular intervals.
Here’s why they’re great for mass plantings:
- Best for: Vegetable rows, flower beds, hedge lines
- How they work: Integrated into drip tubing at regular intervals (e.g. every 6”, 12”, or 18”)
- Flow rates: Typically 0.5–1 GPH
- Installation: Lay tubing down the row—fast and clean!
Master Gardener Tip: Use 12″ spacing for leafy greens and 18″ for larger plants like tomatoes or squash.
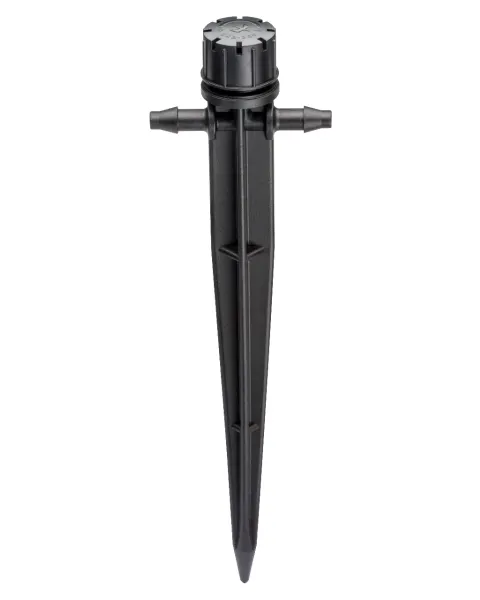
Adjustable Emitters
Want flexibility? Adjustable emitters let you dial in the perfect flow for each plant. They’re especially useful for containers, baskets, or mixed plantings with a wide range of needs.
Here’s what makes adjustable emitters stand out:
- Best for: Containers, hanging baskets, specialty plants
- How they work: Manual dial lets you adjust flow rate
- Flow range: 0–10 GPH or more
- Pros: Great for plants with changing water needs or differing container sizes
Master Gardener Tip: Adjustables are excellent for testing plant water needs before locking in a permanent setup.
Micro Sprayers and Bubblers
Some garden zones—like flower beds or ground covers—benefit more from broad water distribution than pinpoint drips. That’s where micro sprayers and bubblers shine.
Here’s what to know about these area-style emitters:
- Best for: Ground covers, shallow-rooted annuals, flower beds
- How they work: Spray or flood a small area instead of a single drip point
- Types: Misters, fan sprayers, 180° or 360° coverage
- Trade-off: Higher evaporation losses, less efficient than point emitters
Master Gardener Tip: Use micro sprayers early in the morning to reduce evaporation and avoid wetting leaves too late in the day.
Soaker Hoses and Porous Pipe Emitters
If you have dense plantings, winding garden paths, or native gardens, you might prefer a system that quietly seeps water along its length. That’s the job of soaker hoses and porous pipe emitters.
Here’s why they’re loved for simplicity and coverage:
- Best for: Dense plantings, raised beds, native plant areas
- How they work: Water seeps out slowly along the full length
- Pros: Easy to install; conforms to irregular shapes
- Cons: Can clog more easily, uneven delivery without filtration
Master Gardener Tip: Bury soaker hoses under mulch to keep them cool and extend their lifespan.
How to Choose the Right Drip Emitter
With so many options, it’s important to match your emitter to your specific garden setup. Think through these key considerations to make the right call:
- Plant type and spacing: Closely spaced plants do better with in-line emitters or soaker hose
- Soil type: Sandy soil needs higher flow rates, clay needs slower
- Water pressure: Use pressure-compensating emitters on slopes or long runs
- Maintenance: Button emitters are easier to replace individually
Master Gardener Tip: Label your zones and keep a basic sketch of your setup for easy troubleshooting and expansion.
Troubleshooting: When Your Emitters Fail
Even the best system needs maintenance. If your plants look dry, soggy, or unevenly watered, your emitters may be the issue. Keep an eye out for these common problems:
- Clogs (especially in hard water areas)
- Damaged or sun-degraded emitters
- Pressure issues from elevation or long runs
- Lack of filtration or flushing
Master Gardener Tip: Flush your lines every season and replace emitters showing signs of clogging or algae growth.
Final Thoughts: Start Small and Scale Up
Choosing the right emitters lets you tailor your irrigation to your garden’s exact needs. Test different types and see what works best for your soil and layout—you can always expand and tweak as your garden evolves.
Master Gardener Tip: Start with one bed or section, then observe and adjust. Drip systems are modular, which makes scaling and perfecting easy over time.

More From Our Master Gardener


Unique Garden Tools

Shop Our Gardening Gift Boxes

5 Star Reviews for Our Hori Hori
Recent Posts

Turn Fall Leaves into Garden Gold 🍂 | The Simple Trick Every Gardener Should Know

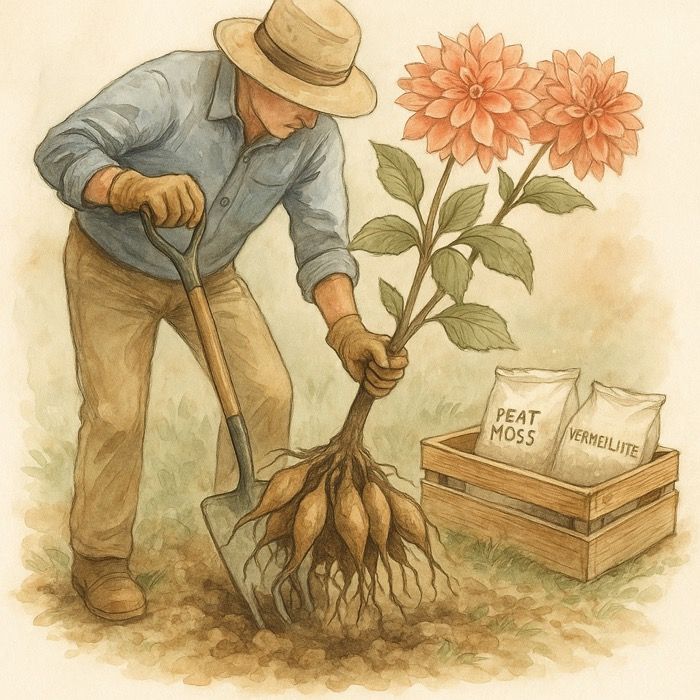
When and How to Dig Up Dahlias – The Best Time, Storage, and Overwintering Guide for 2025 Blooms

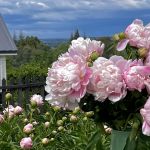
When and How to Dig Up Peonies – A Step-by-Step Guide for Vibrant Blooms

Best Herbs to Plant in October 2025 – Fall Herb Gardening in Raised Beds Made Easy
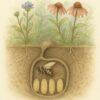
The Bee Underground – Meet the Solitary Bees Living Beneath the Soil