

Indoor plants brighten up our homes, but even the healthiest houseplants eventually need more room to grow. Learning when to repot indoor plants is essential for keeping them thriving year after year. Repotting gives roots space to spread, refreshes old soil, and restores the nutrients your plant needs to flourish.
Why Repotting Matters
Over time, indoor plants become rootbound, meaning their roots circle tightly around the pot with little soil left between them. Old potting mix also loses its structure and nutrients, making it harder for roots to get water and oxygen. Repotting solves both problems, giving your plants fresh soil and room to grow stronger.
Clear Signs It’s Time to Repot
If you notice any of these, your plant is ready for a new pot:
- Roots pushing through drainage holes – A classic signal the plant has run out of space.
- Roots circling the surface – Tangled roots on top of the soil show it’s overcrowded below.
- Soil dries out too quickly – Roots may be taking up most of the pot, leaving little soil to hold moisture.
- Water pooling on the surface – Old, compacted soil no longer absorbs water properly.
- Stunted growth – If your plant stops producing new leaves during its active season.
- Yellowing leaves or decline – Nutrient-depleted soil is often to blame.
- Warped or cracked pots – Strong roots can distort or even break containers.
Best Time to Repot Indoor Plants
The ideal time to repot most houseplants is in spring or early summer, when growth is active. Plants bounce back quickly during this period. Avoid repotting in fall or winter unless the plant is in distress.
How Often Should You Repot?

- Fast growers – Every 1–2 years
Examples: spider plants, pothos, philodendrons, peace lilies, rubber plants. These vigorous growers quickly fill their pots and appreciate regular repotting. - Slow growers – Every 2–3 years, or refresh the topsoil
Examples: snake plants, ZZ plants, jade plants, cacti, succulents. These plants are content in the same pot for longer and often prefer being slightly rootbound. - Large, mature plants – Refresh the soil rather than the pot
Examples: fiddle leaf figs, monstera deliciosa, parlor palms. Their roots may not need more space, but fresh potting mix helps maintain health.
When to Repot an Orchid

Orchids are among the most popular houseplants, and orchid repotting is one of the top gardening searches. Unlike most indoor plants, orchids don’t grow in soil. Instead, they thrive in a chunky potting medium such as bark, sphagnum moss, or perlite that allows for airflow around their roots.
Signs it’s time to repot orchids
- The orchid potting mix has broken down into soggy or compacted pieces.
- Roots are spilling over the edges or pushing through drainage holes.
- The orchid has finished flowering and entered its resting phase.
- Roots look shriveled, mushy, or unhealthy.
Best time to repot orchids
The ideal time is right after flowering, once the blooms fade and before new flower spikes appear. For Phalaenopsis orchids (moth orchids), this typically means every 1–2 years, depending on how quickly the potting medium breaks down.
Orchid repotting tips
- Use a clear orchid pot so you can easily monitor root health.
- Select a fresh orchid mix (bark, charcoal, perlite, or sphagnum moss).
- Sterilize scissors or pruners and remove any rotting roots.
- After repotting, water lightly and keep the orchid in a shaded spot for 7–10 days to reduce stress.
How often to repot popular orchids
- Phalaenopsis (moth orchid): Every 1–2 years, ideally after flowering.
- Dendrobium: Every 2–3 years, when roots become crowded or the medium breaks down.
- Cattleya: Every 2–3 years, preferably right after blooming when new pseudobulbs begin to grow.
Master Gardener Tip for Orchids: Don’t wait for your orchid to outgrow its pot completely. In most cases, the potting mix breaks down long before the roots run out of space. If the bark feels soft or spongy instead of firm, it’s time to repot.
Tips for Stress-Free Repotting
- Choose a pot just 1–2 inches wider than the old one.
- Use high-quality potting soil matched to your plant type.
- Gently loosen roots before placing them in the new pot.
- Water lightly and keep the plant in gentle light for a few days after repotting.
Master Gardener Tip
Not sure if your plant really needs it? Gently slide the plant from its pot. If you see a tight mat of roots with little soil visible, it’s time to repot. If roots are sparse and soil is plentiful, simply refresh the top couple of inches of soil and wait until the next growing season.


More From Our Master Gardener


Unique Garden Tools

Shop Our Gardening Gift Boxes

5 Star Reviews for Our Hori Hori
Recent Posts


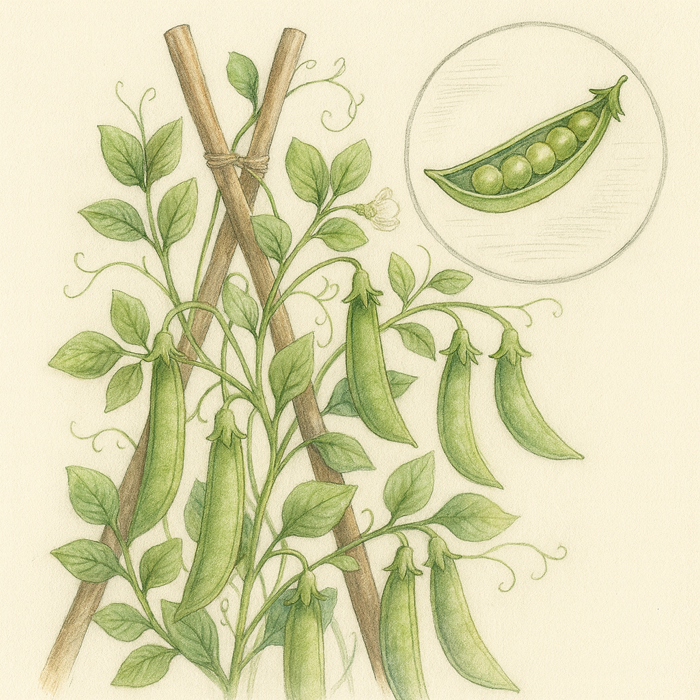
How to Grow Peas: The Ultimate Beginner’s Guide for Sweet, Crisp Harvests

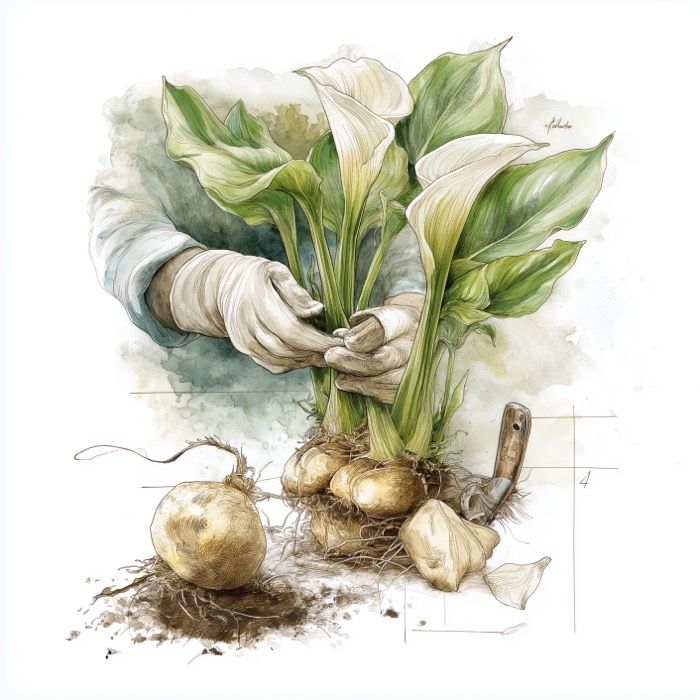
How to Propagate and Dig Up Calla Lilies – A Step-by-Step Guide

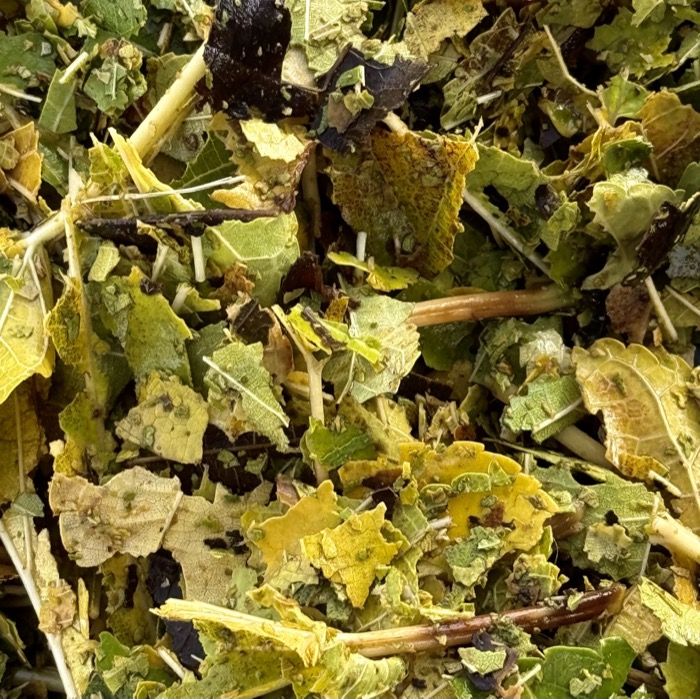
Turn Fall Leaves into Garden Gold 🍂 | The Simple Trick Every Gardener Should Know

When and How to Dig Up Dahlias – The Best Time, Storage, and Overwintering Guide for 2025 Blooms

When and How to Dig Up Peonies – A Step-by-Step Guide for Vibrant Blooms