How to Care for Garden Tools: The Complete Guide to Cleaning, Sharpening & Storing
If you’ve ever picked up a rusty shovel on the first warm Saturday of spring — or fought through hard clay with a hoe that hasn’t been sharpened in years — you already know the frustration. Dull, dirty tools make every gardening task harder than it needs to be.
The good news: keeping your tools in excellent condition takes less time than you think. A simple routine, a few inexpensive supplies, and one focused afternoon per year is genuinely all it takes.
This guide covers everything: the after-every-use habits that take five minutes, how to sharpen the tools most people never think to sharpen, rust removal, fire-safe handling of finishing oils, and how to put everything to bed at season’s end so it’s ready to go when you need it.
Why Garden Tool Maintenance Matters More Than You Think
Most gardeners replace tools far more often than they should — and work far harder than they need to — simply because they’ve never been taught a basic care routine. Here’s what proper maintenance actually does for you.
Sharp tools require dramatically less effort. A sharp hoe slices through soil with roughly half the physical effort of a dull one. Over a two-hour planting session, that difference is felt in your wrists, shoulders, and back.
Clean tools don’t spread disease. Dried sap, soil residue, and rust on cutting blades are vectors for fungal and bacterial plant diseases. Fire blight, one of the most destructive diseases in home orchards, spreads exactly this way — from tree to tree on unclean pruner blades.
Maintenance is vastly cheaper than replacement. A mill bastard file costs $5–10 and lasts for years. A quality garden spade costs $50–80. Regular sharpening and oiling can extend that spade’s useful life by a decade or more.
🌱 Master Gardener Tip: Invest in the best tools you can afford for the items you use most — a quality spade, a reliable pair of bypass pruners, and a sturdy hoe. These three workhorses account for the majority of garden time. Cheap versions of these three will frustrate you daily; well-made versions, properly maintained, will outlast you.
What to Have on Hand: The Basic Toolkit

You don’t need a workshop full of equipment. These supplies handle nearly all routine garden tool maintenance and can be assembled for $30–50 total.
- Mill bastard file — for sharpening hoes, spades, and large blades
- Diamond sharpening tool or whetstone — for pruners, loppers, and fine edges
- Honing oil — a few drops keeps the sharpening surface clean
- Mineral oil or boiled linseed oil — for protecting metal and conditioning wooden handles
- Steel wool (80–120 grit) — for light rust removal
- Coarse sandpaper (80–120 grit) — for heavier rust and handle reconditioning
- White vinegar — for soaking heavily rusted tools
- Cut-resistant gloves — essential any time you’re sharpening
- Stiff garden tool brush or wooden dowel — for removing dried soil
The After-Every-Use Routine (5 Minutes)
This is the single habit that makes the biggest long-term difference. If you build only one practice from this guide, make it this one.
1. Remove soil before it dries
Dried, caked soil is mildly abrasive — it scratches blade surfaces and traps moisture against bare metal, accelerating rust. Use a stiff brush, wooden dowel, or putty knife to knock off soil while it’s still fresh. If there’s sap or sticky resin from pruning roses or fruit trees, a quick rinse takes care of it. The key: dry the blade immediately after any water contact.
2. Wipe down with an oily rag
Keep a cotton rag in a small jar of mineral oil near your tool storage. After brushing off soil, give the metal a quick wipe — this takes under thirty seconds. That light film of oil creates a barrier between the steel and the oxygen and moisture that cause rust.
3. The sand bucket trick
Fill a five-gallon bucket with coarse builder’s sand and pour in about one cup of mineral oil. Mix it. When you come in from the garden, plunge your digging tools in and out a few times. The sand scrubs off debris and the oil coats the metal simultaneously — no separate cleaning and oiling steps needed.
4. Store tools properly
Hang tools on a wall rack or stand them upright with blades off the ground. Don’t rest tools flat on a concrete floor — concrete holds moisture and cold, accelerating rust and degrading wooden handles. Keep blade tips away from walkways as a safety precaution.
🌱 Master Gardener Tip: The sand-and-oil bucket is one of the best entry-level systems for gardeners who struggle to maintain a consistent after-use routine. Place it right at the garden entrance — not in the shed, not in the garage — so you pass it on the way in. Tools get cleaned before you even think about putting them away. Out of sight means out of mind; proximity is everything.
How to Sharpen Garden Tools
This is the step most home gardeners skip entirely, and it’s also the one with the most dramatic impact on how the garden feels to work in. A sharpened hoe doesn’t just cut better — the whole experience of a garden day changes.
⚠️ Safety First: Wear Cut-Resistant Gloves
Before you pick up a file or sharpening stone, put on cut-resistant or leather work gloves. Sharpening creates a burr — a thin, razor-sharp raised edge of metal — and a single slip can cause a serious cut. Safety glasses are also worthwhile, since filing metal produces small particles that can flick upward.
What to Sharpen (and What Not To)
Sharpen these yourself: hoes, spades, garden forks, pruners, loppers, lawn edgers — any tool with a blade that contacts soil or plant stems.
Leave these to a professional: serrated blades and hand saws. The geometry of serrated edges requires specialized equipment, and attempting to sharpen them yourself usually makes things worse.
How to Sharpen Hoes and Spades
- Find the existing bevel on the blade — the angled edge ground into the metal. Your goal is to restore this angle, not reinvent it.
- Hold the mill bastard file at the same angle as the bevel (typically 20–45 degrees depending on the tool).
- Use push strokes only — push the file across the edge away from you, then lift and reset. Don’t drag the file back on the return stroke.
- Apply consistent, moderate pressure. About 10–15 strokes is usually sufficient.
- Check for a burr: run your thumb carefully across the flat back of the blade. A slight roughness means you’ve sharpened enough.
- Make two or three very light strokes on the flat back of the blade to remove the burr.
How to Sharpen Pruners and Loppers
Pruners have a single bevel — only on the cutting blade, not the flat back side. The flat side must stay flat. Filing the back side changes the blade geometry and prevents the tool from closing cleanly.
- Use a diamond sharpening card or whetstone — pruner blades are smaller and require a finer edge than a coarse file provides.
- Hold the sharpening surface at the angle of the existing bevel.
- Push strokes only, following the curve of the bevel on bypass pruners.
- After 5–6 strokes, drag your fingernail lightly across the back of the blade. A tiny raised lip (the burr) means you’ve done enough.
- One or two very light strokes on the flat back side removes the burr.
- Test: slice through a piece of paper. A properly sharpened pruner cuts cleanly. A dull one tears.
🌱 Master Gardener Tip: When sharpening bypass pruners, pay attention to which blade does the cutting — it’s the one with the bevel, not the flat counter-blade. Many gardeners accidentally sharpen the wrong side and wonder why the tool still doesn’t cut well. Hold the pruner up to the light and you’ll see the bevel clearly. Also: disassemble and clean the pivot bolt once per season. A buildup of sap and grit at the joint is often why a “dull” pruner actually feels stiff — the blade is fine, the pivot just needs cleaning and a drop of oil.
How Often Should You Sharpen?
- Start of season: sharpen everything before the first use of the year
- Midsummer: a quick touch-up on heavily used tools if they feel like they’re working harder than they should
- End of season: sharpen before storing — you want tools ready in spring, not in need of work before you can start
How to Remove Rust from Garden Tools
Rust is not a death sentence for a garden tool. In most cases it’s entirely reversible with supplies you likely already have at home.
Light Rust
Light surface rust responds well to steel wool or 80–120 grit sandpaper plus a little WD-40. Scrub in the direction of the metal grain — not in circles — and the rust will lift within a minute or two.
Heavy Rust
- Submerge the rusted portion in undiluted white vinegar
- Soak overnight — up to 24 hours for severe cases
- Remove and scrub with steel wool or a wire brush
- Neutralize immediately with a baking soda and water solution — the acid leaves metal reactive if not neutralized
- Rinse, dry thoroughly, and oil right away
That last step matters: bare metal that has just had rust removed will begin rusting again within hours if left unprotected.
🌱 Master Gardener Tip: Not all rust is worth fighting. Surface rust — that orange dusting you can wipe off — is completely worth removing and preventing. Deep pitting, where rust has eaten into the metal and left craters in the blade surface, is a different story. A pitted blade won’t hold a sharp edge, won’t slice cleanly, and will continue to rust faster than surrounding metal. If you run a file across a badly pitted blade and still feel significant texture after 20 strokes, that tool has reached the end of its useful life. Replace it rather than pouring more hours into restoration.
Caring for Wooden Handles
Wooden handles are often overlooked because they don’t show damage as visibly as a rusty blade — but a cracked or dried-out handle is both a comfort issue and a safety issue. A handle that fails under force can cause serious injury.
Once or twice per season, run your hand along the handle to feel for rough spots or splinters, sand smooth with 120-grit sandpaper, then apply boiled linseed oil with a clean rag. Allow to dry fully — overnight minimum — before storing or using the tool.
⚠️ Critical Fire Safety Warning: Boiled Linseed Oil
Rags soaked in boiled linseed oil can self-ignite through spontaneous combustion. This is a well-documented fire hazard, not a hypothetical. As the oil oxidizes and cures, it generates heat. A bunched-up rag left in a trash can, garage corner, or plastic bag can reach ignition temperature entirely on its own — with no external flame required.
Safe disposal: Lay used rags flat and fully spread out to dry in the open air outdoors, OR submerge them in water in a metal container with a lid before disposal. Never leave oily rags crumpled in a pile, in a closed bin, or in any enclosed space.
🌱 Master Gardener Tip: If you’re concerned about the fire risk with boiled linseed oil — and it’s a legitimate concern — raw linseed oil is a safer alternative for handle conditioning. It takes longer to cure (days rather than hours) but carries a much lower spontaneous combustion risk. Tung oil is another excellent option: it penetrates deeply, cures hard, and is widely used for tool handles and outdoor wood. Neither raw linseed nor tung oil carry the same combustion hazard as the boiled formulation.
End-of-Season Garden Tool Care
One focused afternoon in late fall will save you hours of frustration the following spring. Work through every tool in your shed with this sequence:
- Deep clean — remove all soil, sap, and debris
- Sharpen — hoes, spades, pruners, loppers
- Remove any rust — address it now before it deepens over winter
- Oil all metal surfaces — a light coat of mineral oil or WD-40 spray
- Condition wooden handles — sand rough spots, apply oil, dry fully (see fire safety note above)
- Inspect handles and hardware — cracked handles, loose heads, broken springs on pruners. Replace now, not on a busy Saturday in May.
- Store properly — dry location, off the floor, on wall hooks or a rack
🌱 Master Gardener Tip: Stick a small strip of painter’s tape with the date on any tool you’ve just sharpened. The following spring you’ll know at a glance what’s ready to use and what needs a touch-up before you start. This is especially useful if multiple family members use the same tools — no guesswork about what’s been maintained and what hasn’t. A permanent marker on the tape takes three seconds and eliminates a surprisingly common source of spring-morning frustration.
Quick Reference: The 3-Habit System
If you take nothing else from this guide, build these three habits and your tools will last decades.
- Clean after every use. Brush off soil, wipe the blade, dry any moisture. Five minutes.
- Oil the metal. One wipe with a mineral oil rag before you hang the tool up. Thirty seconds.
- Sharpen regularly. Start of season, end of season, midsummer touch-up on heavy-use tools. A sharp tool is safe, efficient, and a genuine pleasure to use.
Frequently Asked Questions
How do I know when a tool needs sharpening?
The most practical test: does it feel like you’re pushing through resistance rather than cutting? A sharp hoe slices; a dull one scrapes. A sharp pruner snips cleanly; a dull one crushes and tears. If you’re working harder than the task should require, it’s time.
Can I use any oil on my tools?
Mineral oil is the most versatile and food-safe option — important if tools contact edible crops. Linseed oil works well but see the fire safety note above regarding rag disposal. WD-40 is effective for rust prevention but isn’t a long-term lubricant. Avoid vegetable or cooking oils — they go rancid and attract pests.
My pruner blade is chipped. Can it be saved?
Minor chips can often be filed out, though it takes more work and removes more metal than standard sharpening. A chip that runs more than a few millimeters into the blade usually means it’s time to replace the blade or the tool.
How long should garden tools last with proper care?
Quality tools — carbon steel heads on hardwood handles — can last 20 to 30 years or more with consistent care. Even mid-grade tools will serve a decade or longer if cleaned, sharpened, and stored correctly.
Is it worth sharpening cheap tools?
Yes, with one caveat. Sharpening improves any tool. But if a cheap tool has a cracked handle, a loose head, or badly pitted metal, the time investment in restoration may not make sense — use that as the signal to invest in a better replacement.

More From Our Master Gardener


Special Gifts for Gardeners
Shop Our Gardening Gift Boxes

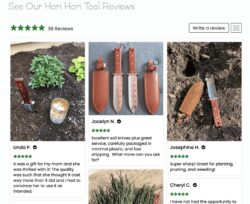
5 Star Reviews for Our Hori Hori
Recent Posts


Deadheading Guide: What to Deadhead & What to Leave Alone

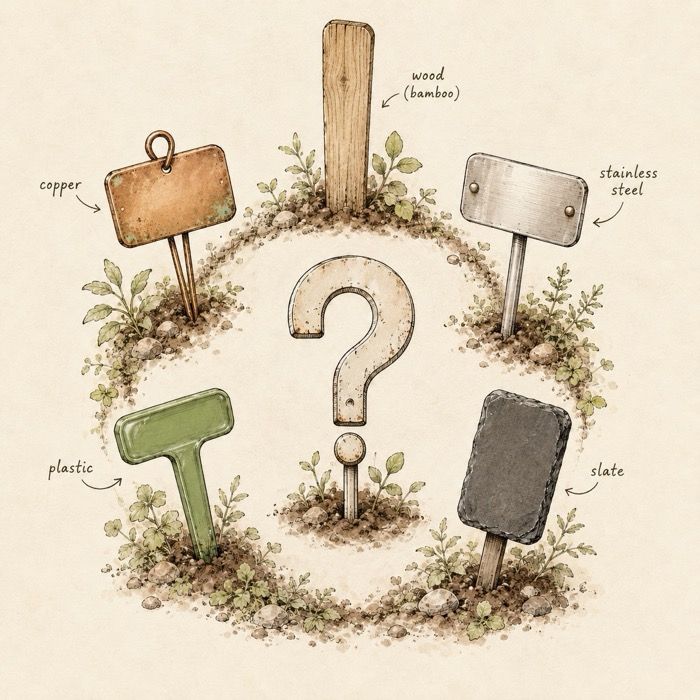
Wood, Copper, or Stainless: The Best Garden Markers for Every Part of Your Garden

July Garden Signals: Yellow Leaves, Peony Aftercare & the Knee-High Rule
Why Won’t My Soil Absorb Water? What Your Garden Is Trying to Tell You

What Dragonflies Are Telling You About Your Garden