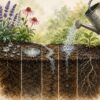
Whether planting tomatoes, roses, fruit trees, shrubs, perennials, or natives, most failures trace back to the planting stage. Roots establish the plant’s future: oxygen access, structural support, and adaptation to your soil.
Get the roots right from day one, and many common problems (decline, rot, poor growth) simply never develop.
This method reflects current best practices from Master Gardeners and university extension programs across North America.
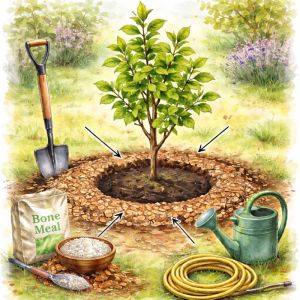
Step 1 — Dig the Right Hole: Wide and Shallow (Not Deep)
Golden Rule: Dig the hole 3–5 times wider than the root ball (or container diameter), but no deeper than the root ball height.
Why width > depth:
- Roots expand laterally first (outward, not downward).
- Wide, loosened soil encourages fast outward growth into native ground.
- Deep holes cause sinking, poor drainage, oxygen starvation, and rot.
Quick Check: Place the plant in the hole—the top of the root ball (and root flare) should sit at soil level or slightly above (1–4 inches high in heavy clay or poorly drained soils to allow for settling).
Step 2 — Expose the Root Flare (Avoid Burying It)
The root flare is the natural widening where trunk or stem transitions to major structural roots—similar to the base of a tree flaring outward.
Nursery plants are often potted or balled too deeply, with soil covering the flare.
Before planting:
- Gently remove excess soil from the top of the root ball.
- Brush away until you see the first set of large structural roots radiating outward.
- Plant so the flare is visible at or slightly above final soil level (top structural roots within the top 1–2 inches of soil).
This prevents:
- Girdling roots (roots that strangle the trunk years later).
- Stem/trunk rot.
- Oxygen deprivation and slow decline.
Step 3 — Correct Circling or Bound Roots
Container plants often develop circling roots that become girdling roots if ignored.
- Gently tease roots outward to spread them.
- For tightly bound roots, make 3–4 shallow vertical slices (about 1 inch deep) down the sides of the root ball.
- Lightly score or prune any strongly circling roots.
It may feel counterintuitive, but this redirects growth outward into your soil and improves long-term establishment.
Step 4 — Backfill with Native Soil (Skip Amendments)
Use the original excavated soil—no fancy mixes.
Why:
- Roots must eventually grow into your native soil anyway.
- Amended pockets create texture differences that trap roots and water.
- Studies show trees and shrubs establish faster in unamended native backfill.
Only in extremely poor, compacted, or nutrient-dead soil, lightly mix in a small amount of compost—spread broadly, not concentrated in the hole.
Technique: Backfill halfway → water slowly → finish filling → water again. Gently firm the soil without stomping.
Step 5 — Create a Watering Basin (If Needed)
Form a shallow ring of soil around the outer edge of the hole.
- Captures and directs water to the root zone.
- Reduces runoff on slopes or in dry conditions.
In very wet climates or heavy soils, keep the berm low or skip it to prevent ponding.
Step 6 — Mulch Properly (Donut Style – Never Volcano)
Apply 2–4 inches of organic mulch in a wide circle around the plant.
- Keep mulch 2–3 inches away from stem or trunk.
- Extend mulch to the drip line if possible.
Benefits: moderates temperature, conserves moisture, suppresses weeds, and feeds soil biology.
Volcano mulching invites rot, pests, and rodents.
Step 7 — Water Deeply and Thoughtfully
- Immediately after planting: water slowly and deeply.
- First 1–2 weeks: keep soil evenly moist (not soggy).
- After establishment: shift to deep, infrequent watering.
Avoid frequent shallow watering—it creates weak, surface roots.
Step 8 — No Fertilizer at Planting
Fresh fertilizer can burn new roots. Wait until new growth appears (typically 4–8 weeks), then fertilize lightly if a soil test shows need.
Universal Planting Checklist (Quick Reference)
- Hole: 3–5× wider, no deeper than root ball.
- Root flare: visible at or slightly above grade.
- Roots: tease or slice circling roots.
- Backfill: native soil only.
- Settle: water in stages.
- Mulch: 2–4 inches, donut style.
- Water: deep and infrequent after establishment.
- Fertilizer: skip at planting.
Master Gardener Pro Tip
Most plant deaths start underground—often from a buried root flare or poor root establishment. Plant for the long haul: roots first, everything else follows.
Follow this method and you’ll give almost any plant the best possible start. Adapt slightly for site conditions (plant higher in clay, ensure drainage in wet areas), but the core principles remain rock-solid.


More From Our Master Gardener


Special Gifts for Gardeners
Shop Our Gardening Gift Boxes

5 Star Reviews for Our Hori Hori
Recent Posts


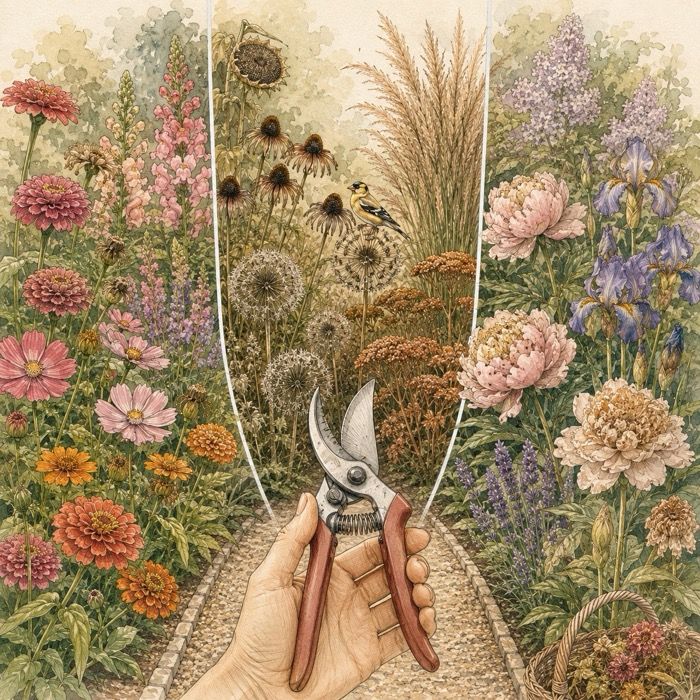
Deadheading Guide: What to Deadhead & What to Leave Alone

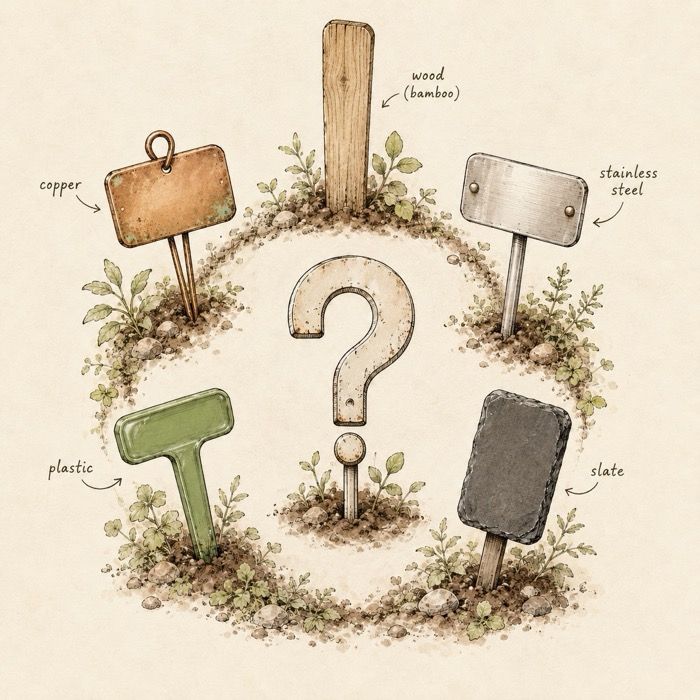
Wood, Copper, or Stainless: The Best Garden Markers for Every Part of Your Garden

July Garden Signals: Yellow Leaves, Peony Aftercare & the Knee-High Rule
Why Won’t My Soil Absorb Water? What Your Garden Is Trying to Tell You

What Dragonflies Are Telling You About Your Garden